Fitting and removing the safety net*
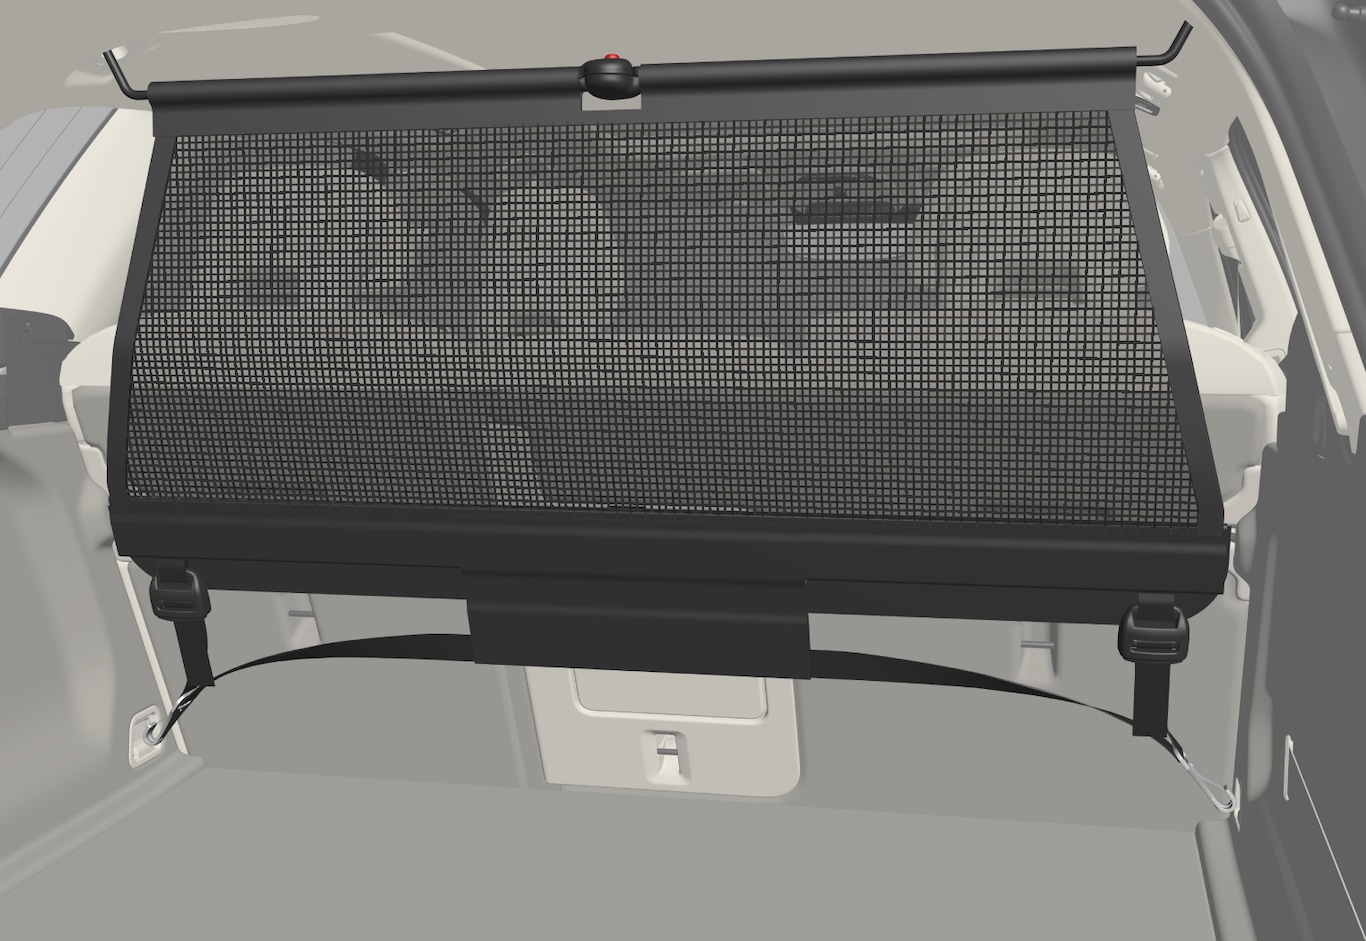
The safety net is fitted into four mounting points.

For reasons of safety, the safety net must always be fastened and anchored as described below.
The net is made of a strong nylon fabric and can be secured two different locations in the car:
- Rear fitting - behind the rear seat.
- Front fitting - behind the front seats.
Warning
Fitting the safety net
Warning
It is necessary to ensure that the upper securing points of the safety net are fitted correctly and that the puller-straps are hooked in properly.
Damaged safety nets must not be used.
Note
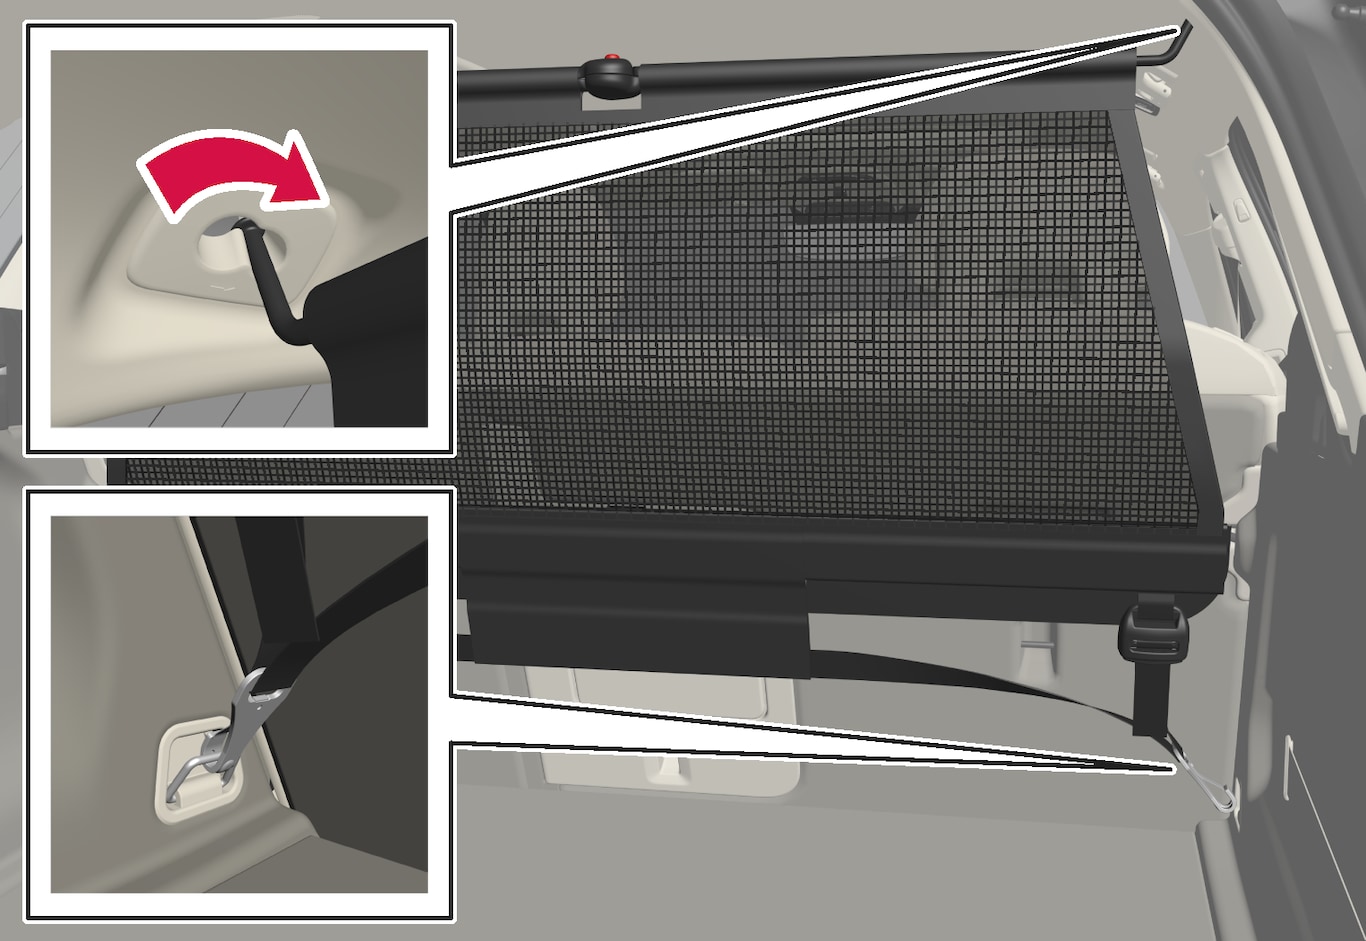
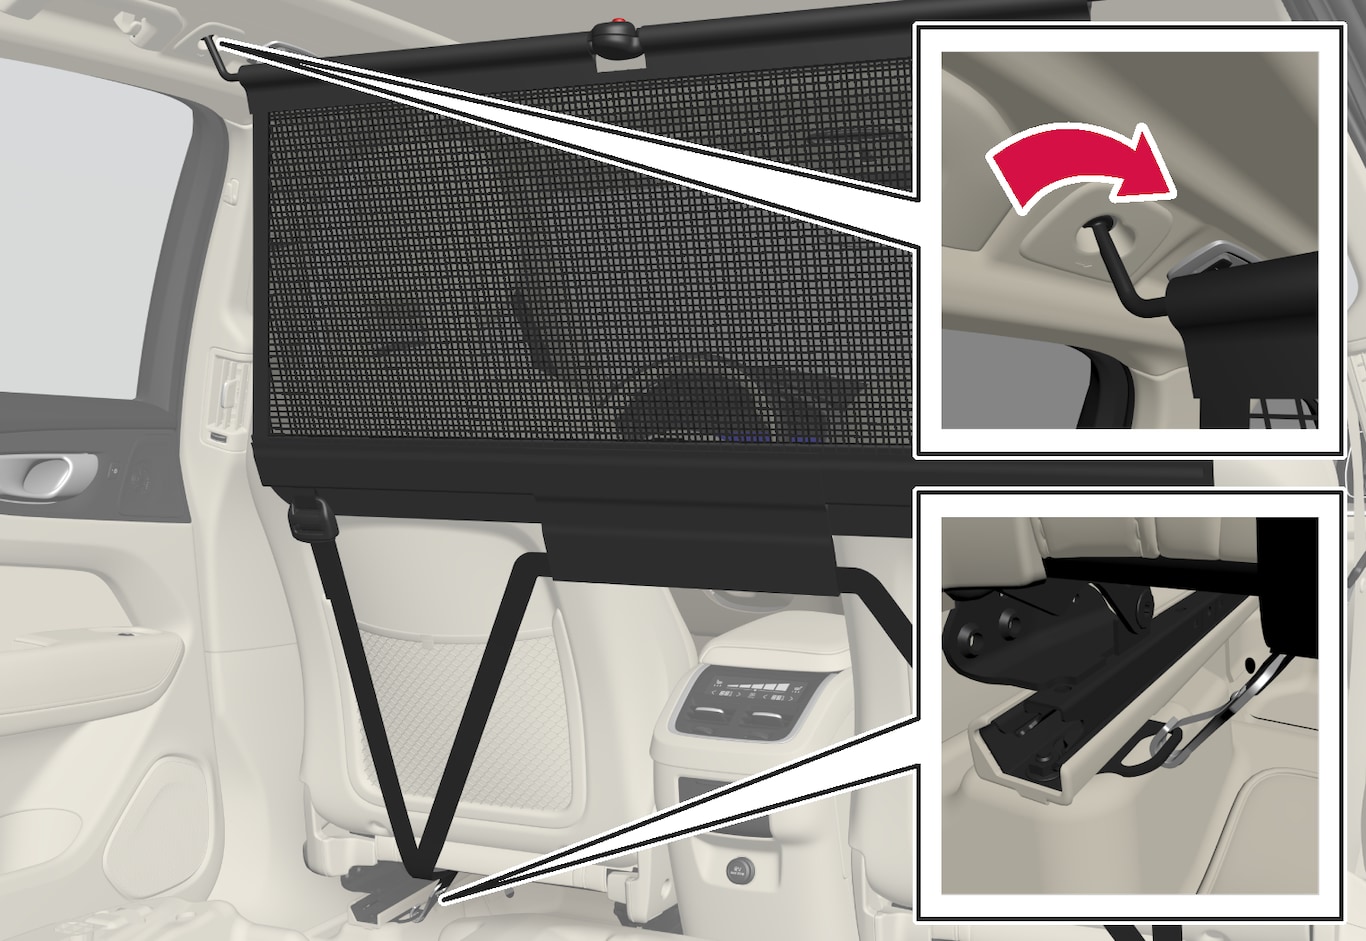
Hook one retaining hook of the net into the front or rear roof mounting with the anchoring strap locks turned towards you.
Remove any clothing hooks from the roof bracket by turning it a quarter turn clockwise on the left-hand side and a quarter turn anticlockwise on the right-hand side respectively.
Hook the net's second attachment hook to the roof bracket on the opposite side.
The telescopically sprung attachment hooks make it easier to fit.
Take care to press forward the net's retaining hooks for each respective roof mounting's front end position.

For rear fitting:
With the net fitted in the rear roof mountings, hook the safety net's puller-straps into the front load retaining eyelets in the cargo area.

For front fitting:
With the net fitted in the front roof mountings, hook the puller-straps into the outer eyes on the rear of all seat slide rails. The procedure is facilitated if the backrests are straightened and the seats are moved forward slightly.
Pay attention to make sure that you do not exert hard pressure on the net when the seat and backrest are moved back again. Only adjust until the seat or backrest makes contact with the net.