To access the charging view in the car's centre display, tap on  and then on Charging. The charging view in the centre display is also activated when charging is started.
Important
Setting the charge limit

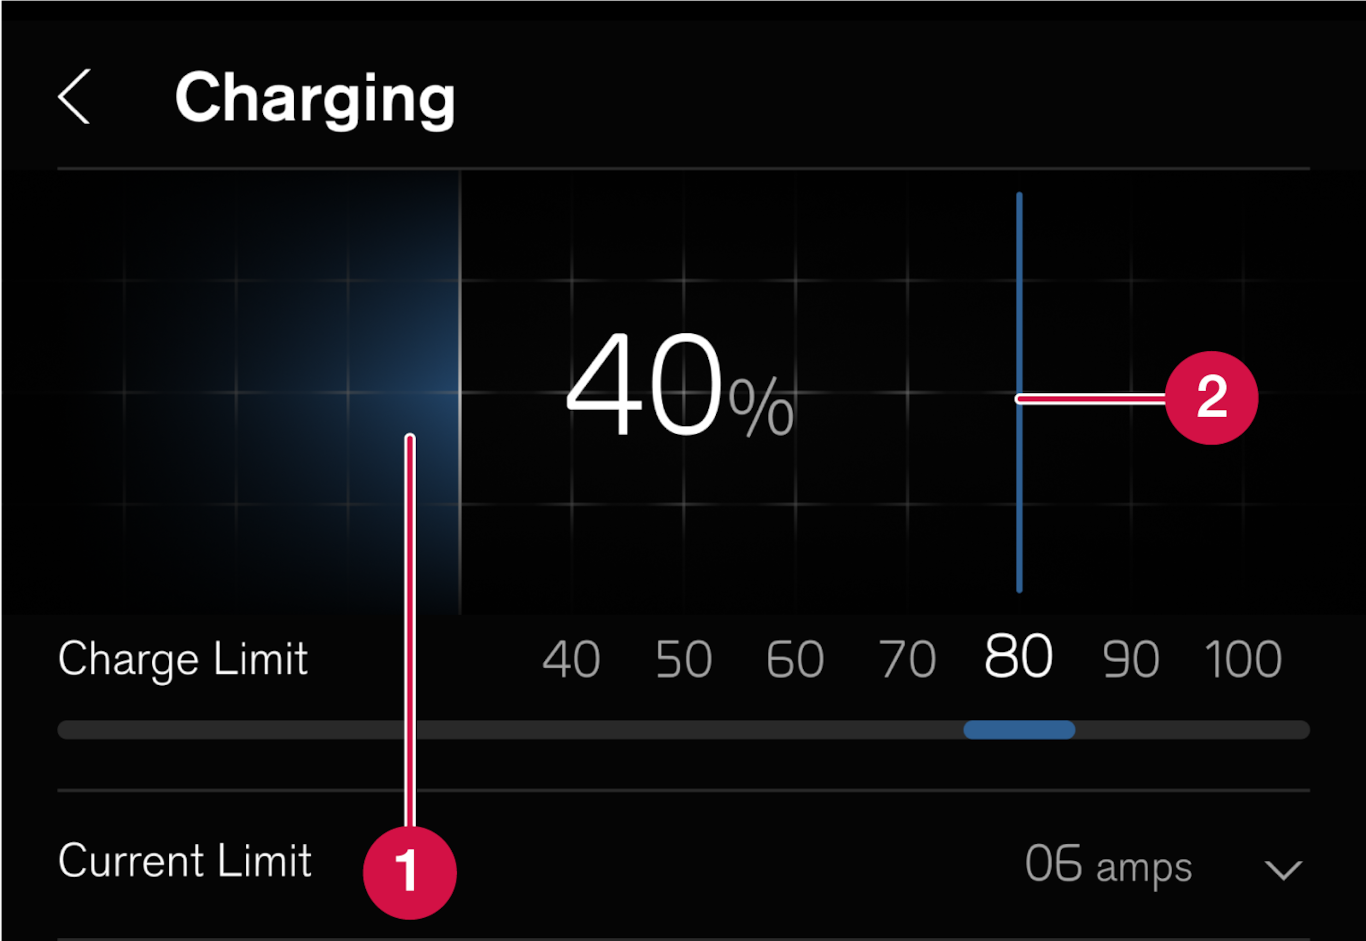
 Battery's current State Of Charge (SOC).
 Charge limit – Swipe to set a limit for the State Of Charge (SOC) at which the charging should be ended. The set value remains the same until it is changed again in the centre display.
Important
Schedule charging
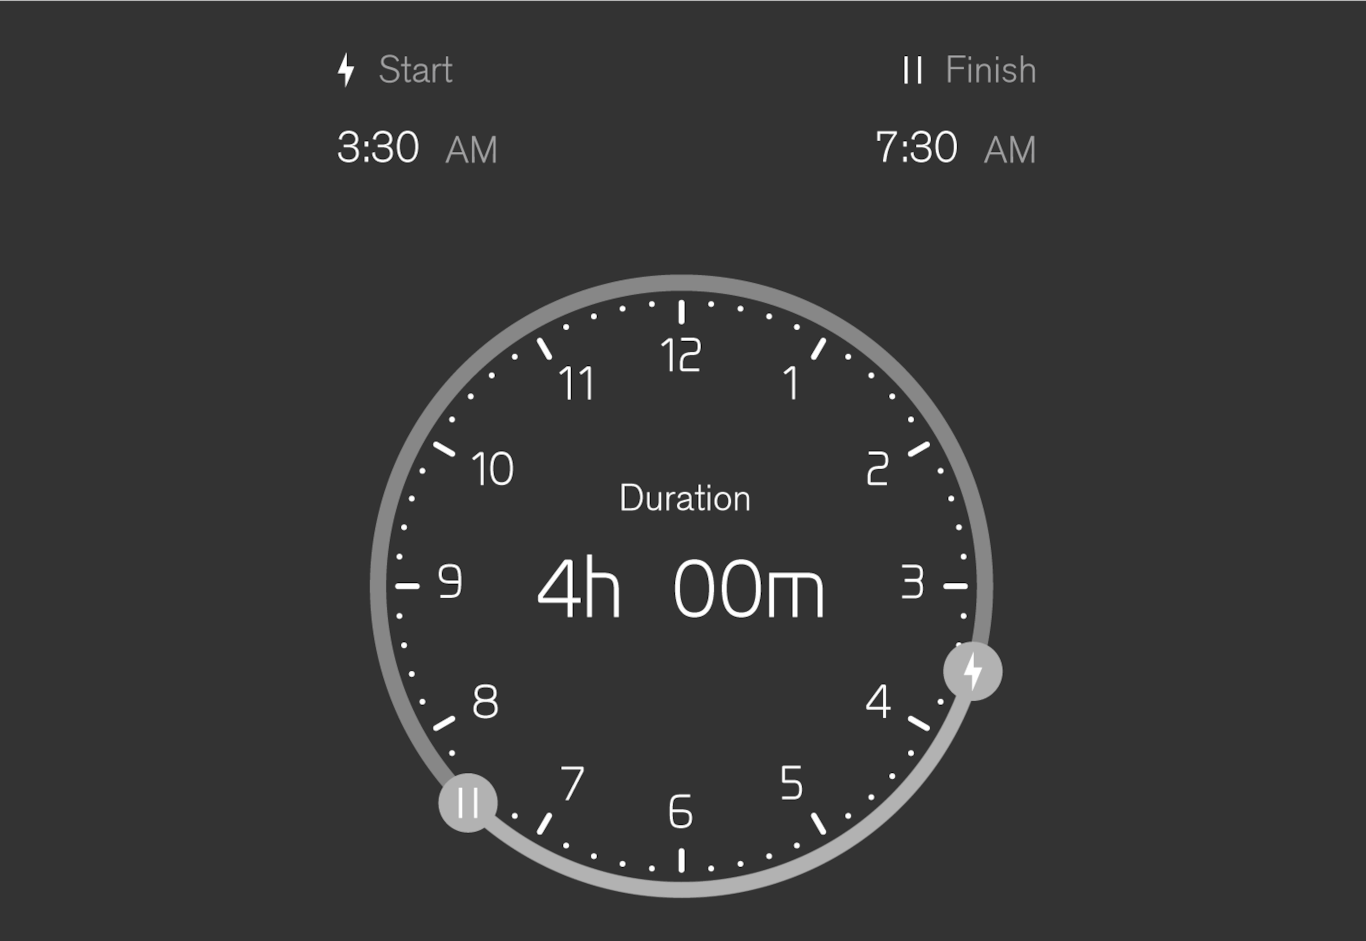
When charging with alternating current, it is possible to schedule charging and set start and stop times for when charging should take place.

Select in the centre display and then activate the scheduling with Schedule charging. Use the controls at  and
and  to set the desired start and stop time for charging.
Use the control at Schedule charging to deactivate scheduling of charging.
Temporarily bypassing the settings for scheduled charging
There is the option to temporarily bypass the settings for activated scheduled charging without the need to deactivate scheduling. For example, it may be useful if the car has charging scheduled for during the night but charging is also necessary outside of this time, e.g. when parking after using the car.
Note
Locking and unlocking the charging cable
Tap on Unlock cable in the centre display to unlock the charging cable and end the charging in progress. You can lock the cable into the charging input socket by tapping on Lock cable in the centre display. Charging is then resumed automatically when charging via wall socket/charging station (AC charging). Charging will not be resumed automatically during fast charging (DC charging).
Setting the amperage

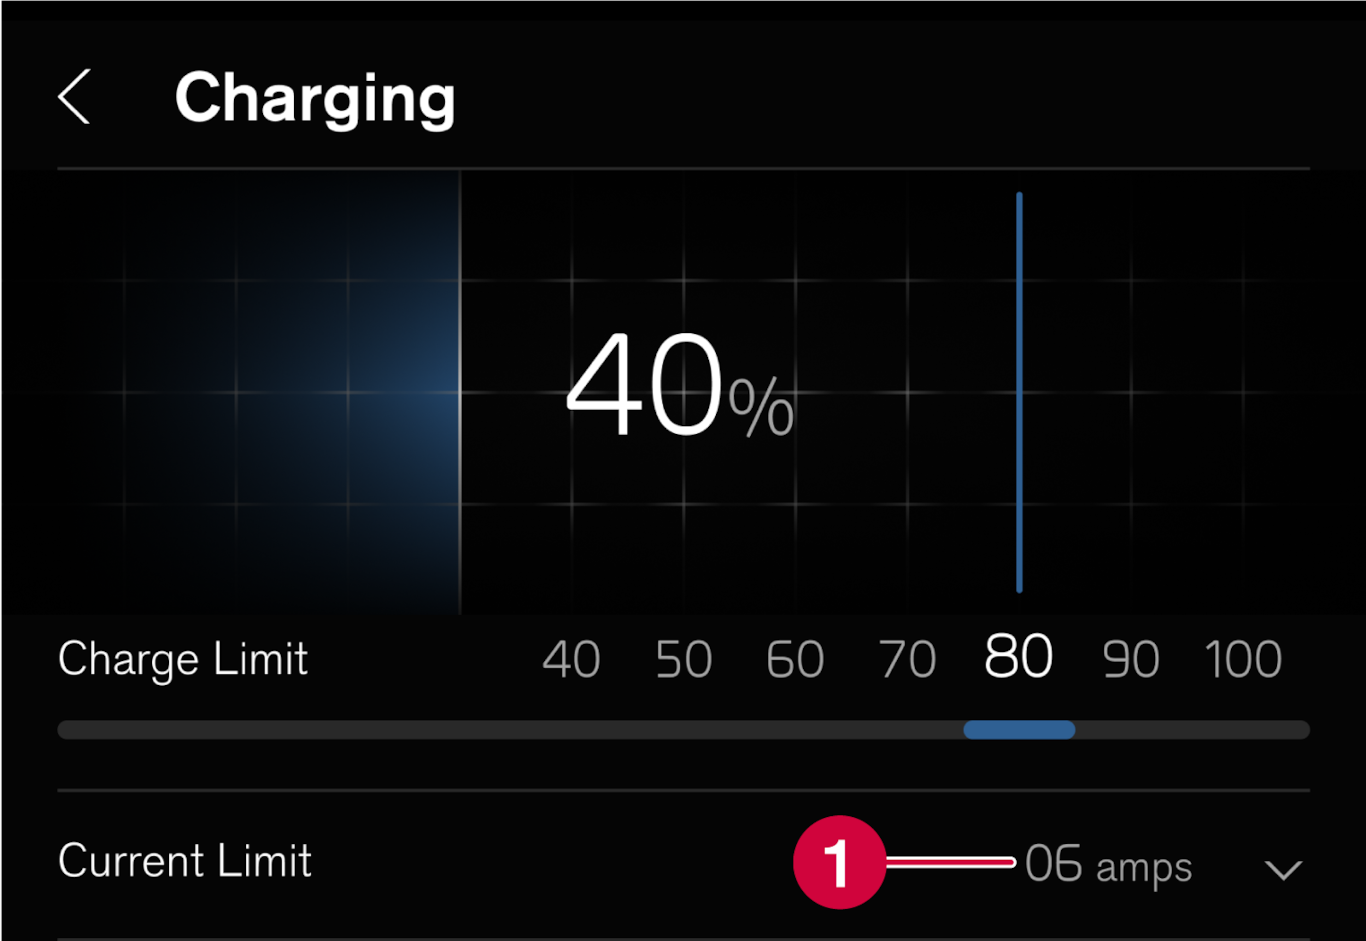
 Set amperage.
When charging with alternating current1, it is possible to limit the maximum amperage the car can be charged with.
Select Charging and the arrow at Current limit (amps). Tap on + to increase the amperage or - to reduce the amperage2.
When charging with more than 1-phase, an average value for set amperage3 is shown in the driver display.